You can easily install jenkins on your windows machine by following this step by step tutorial
Prerequisites
- java version 8 or 11
Jenkins currently only supports these two versions of java so make sure you have any one of these versions before continuing.
adding a new user
We can jenkins as a root user and as a local or domain user running jenkin as a root user is a risky affair as the programs you run have full root access to your system so it is not recommended.
Let’s create a new local user for jenkins.
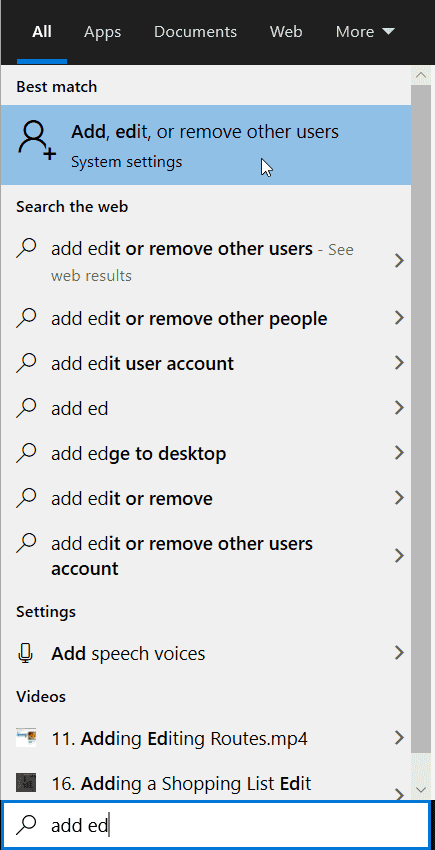
Go ahead and type add edit or remove other users in your windows search bar and click on the add edit or remove other users button.
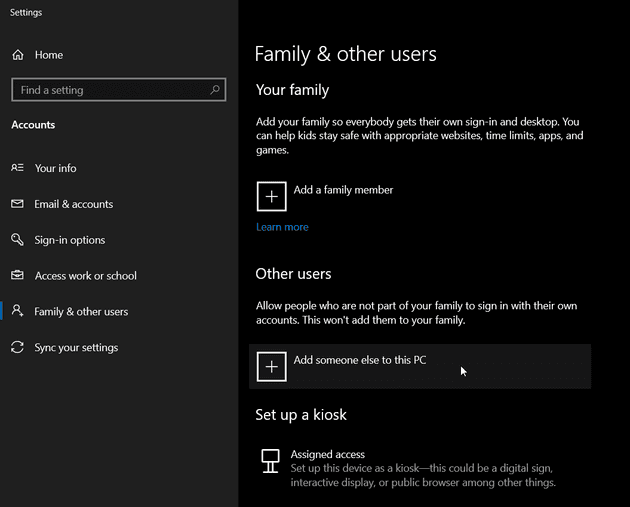
Now click on add someone else to this pc
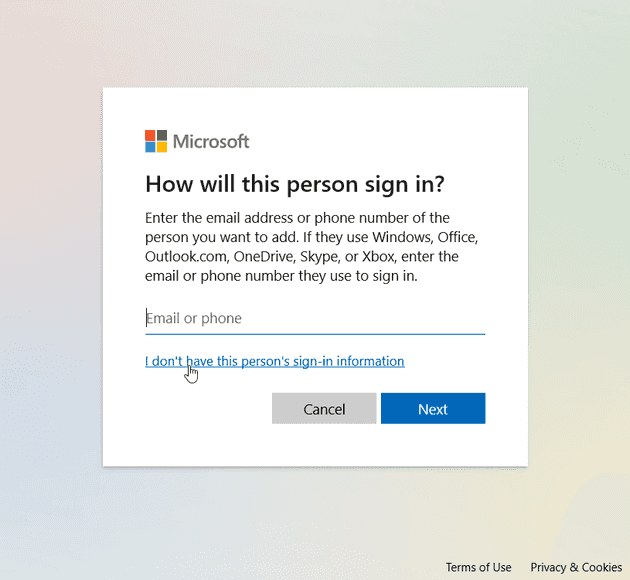
and then I don’t have this persons signin information
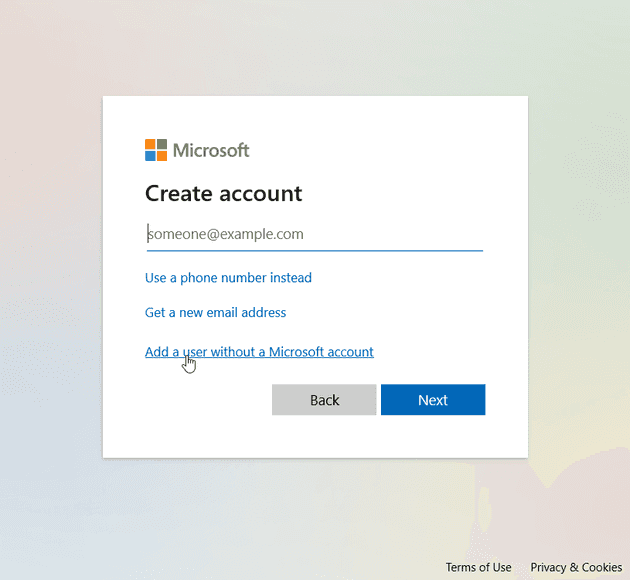
and then on Add a user without microsoft account
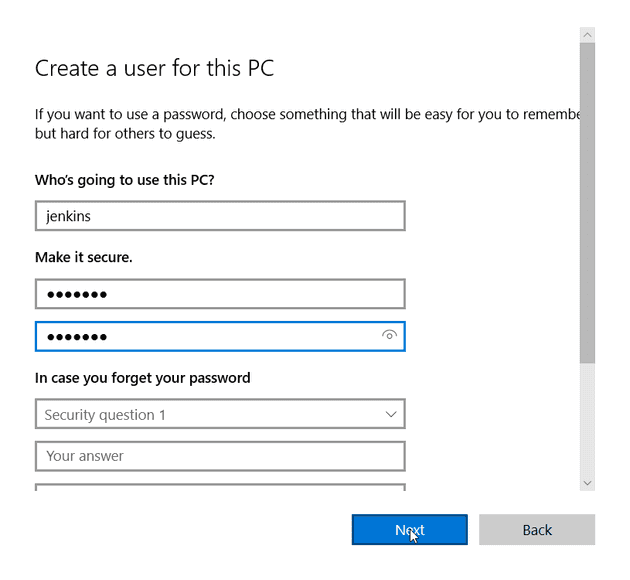
Now provide the username, password and answer the security questions. and click on Next.
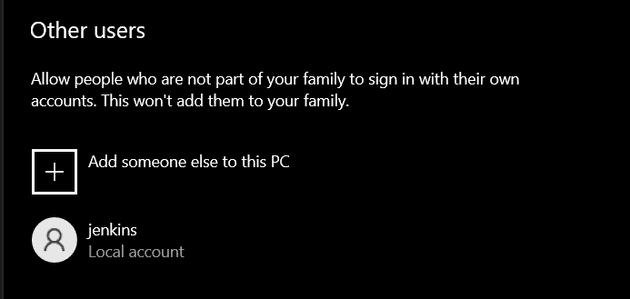
Now you will see that a new local account has been created.
Giving local account right to login as a service
If you are using windows 10 home edition local security policy might not be enabled for you if that is the case go to this site to see how to enable it How to Enable Local Security Policy (secpol.msc) in Windows 10 Home
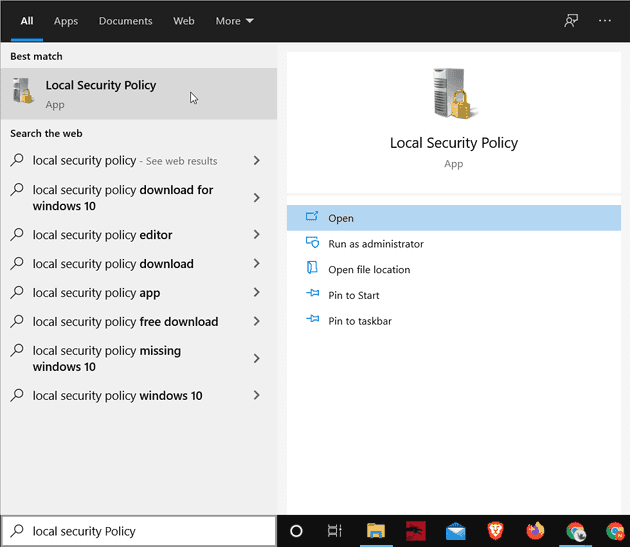
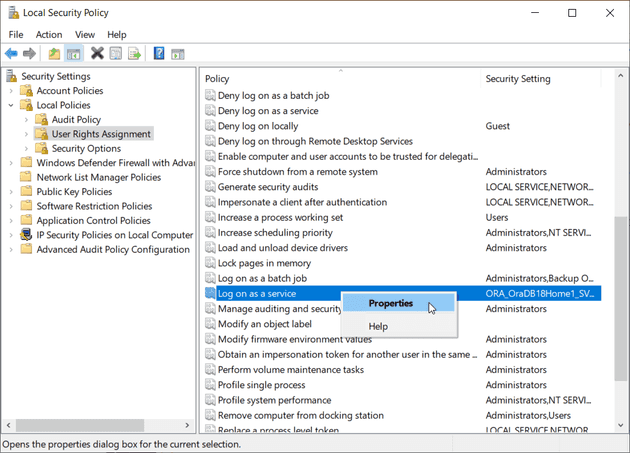
After enabling local security policy Go ahead and type local security policy in your windows search bar and click on the local security policy button.
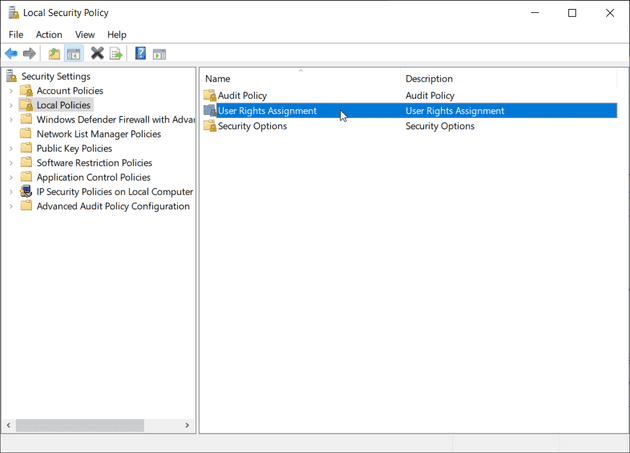
Expand Local policies and then select User Rights Assesments
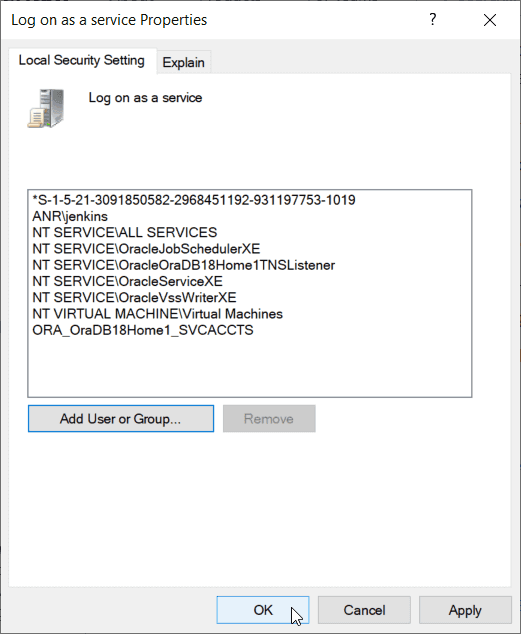
In the right pane, right-click Log on as a service and select properties.
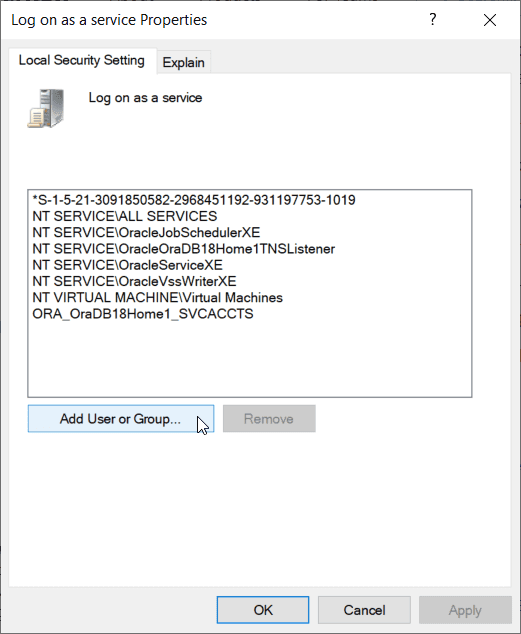
Click on Add User or Group button to add the new user.
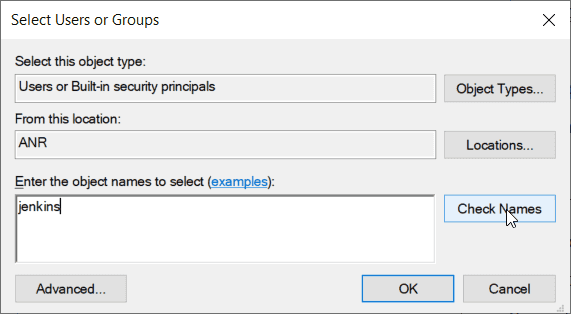
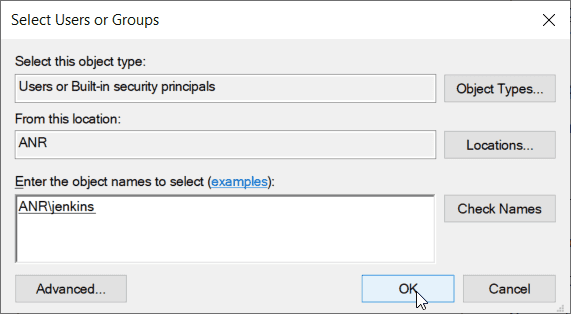
In the Select Users or Groups dialogue, Enter the username of the user you previously added and click check names.
Click ok
Click OK in the Log on as a service Properties to save changes.
Download jenkins
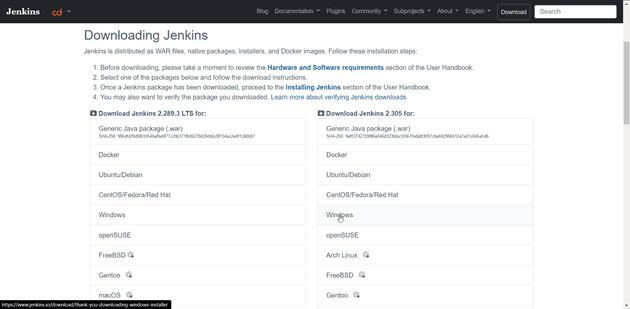
Go to jenkins download page and download either the LTS or Latest version.
After the download has completed double click the file to open it.
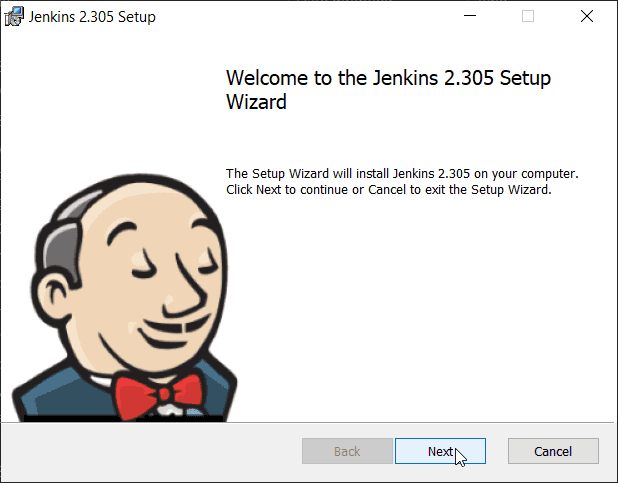
Follow the prompts on the setup dialog.
Click next
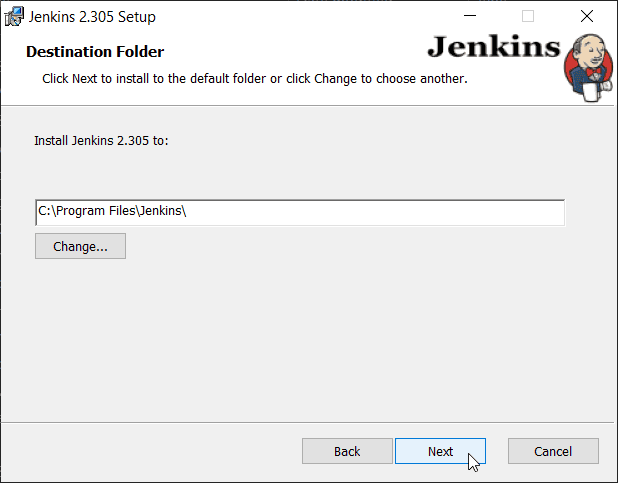
Click next
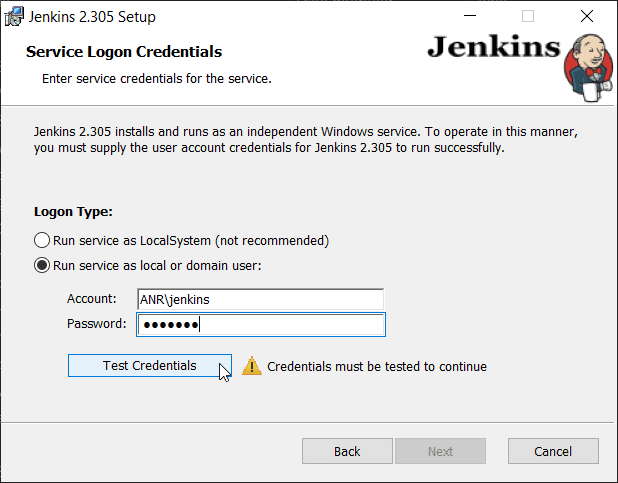
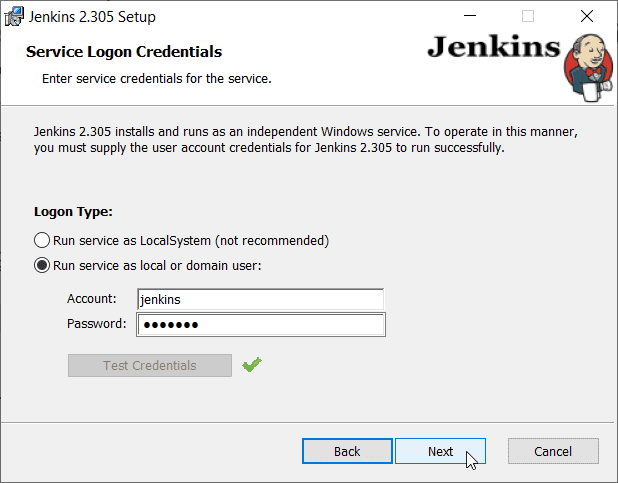
Enter the user name and password of the local account we have created and click Test Credentials to continue.
If any error occurs at this point google is your friend.
Click next
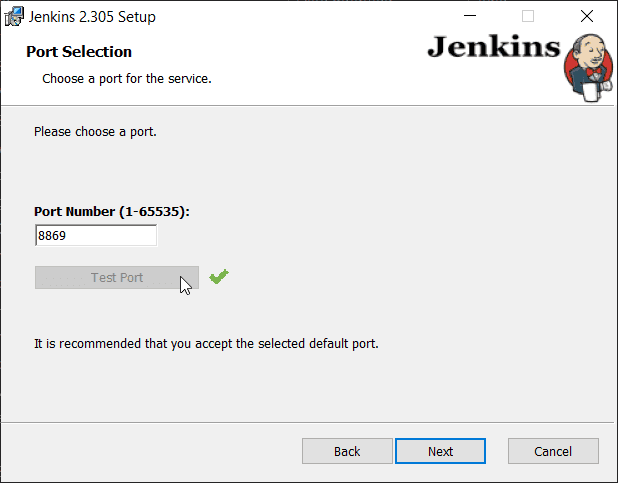
I like to change the default port from 8080 to some absurd number but it is totally your choice just make sure that the number is valid and available by clicking on the Test Port button.
and proceed to click Next.
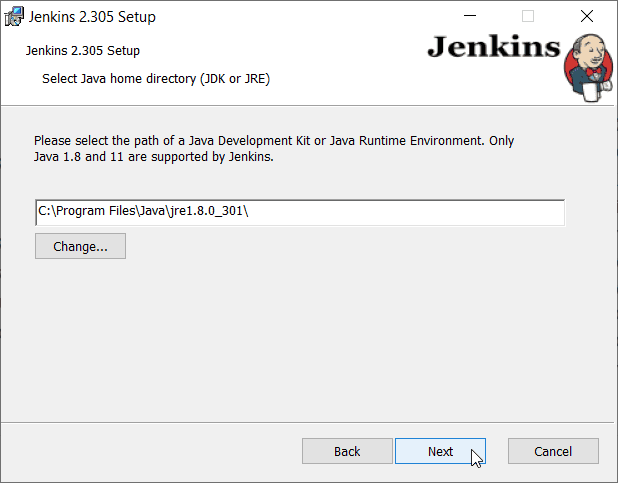
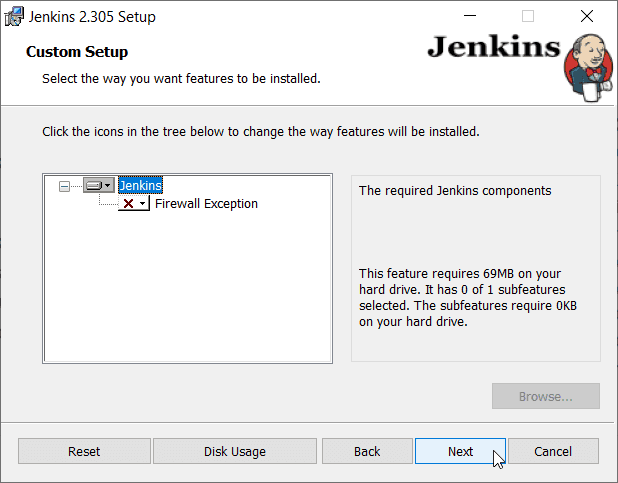
This is where you select your java installation. Just make sure that you select java 8 or 11 (1.8 is just an alias for 8) Click next
Click next
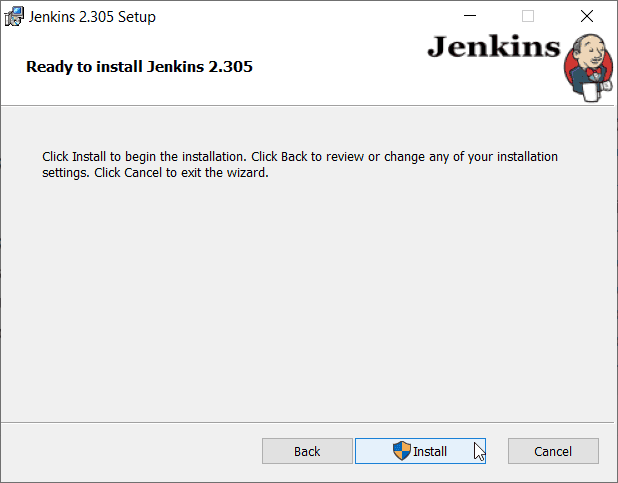
Click Install
Click yes on the popup that appears and wait for the installation to complete.
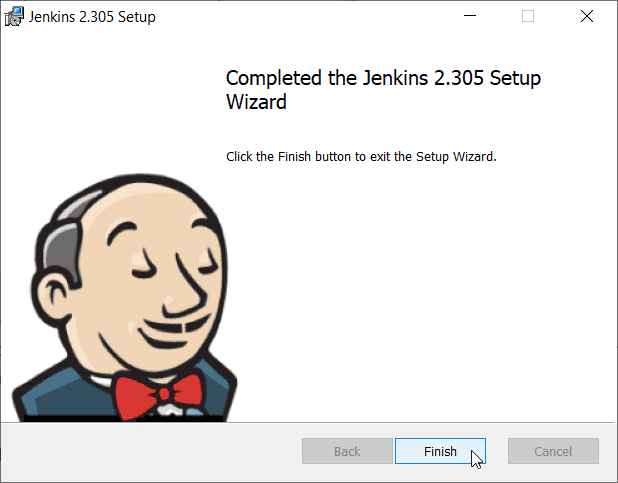
Click finish to exit the setup wizard.
Unlock jenkins for first time use
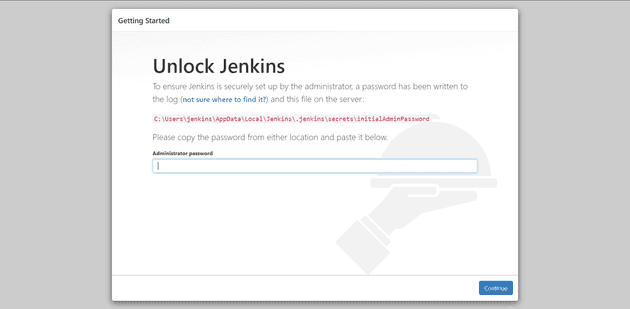
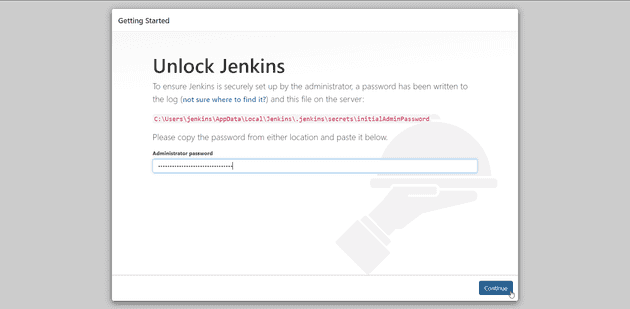
After you click finish on the setup wizard a new browser window will be opened asking you to Unlock Jenkins.
You can find the administrator password in the given path. You need to click on view in the top of file explorer and tick the option Hidden Items to navigate to that path.
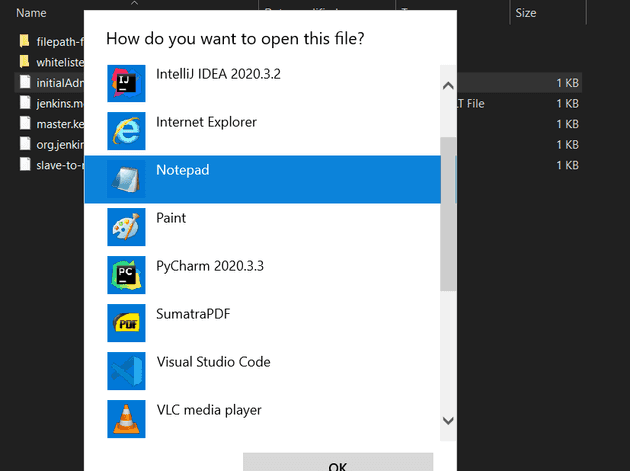
After you get to the initialAdminPassword file open it with notepad and copy the text displayed it is the admin password to unlock Jenkins.
Paste the password in the Administrator Password field and click on continue to proceed.
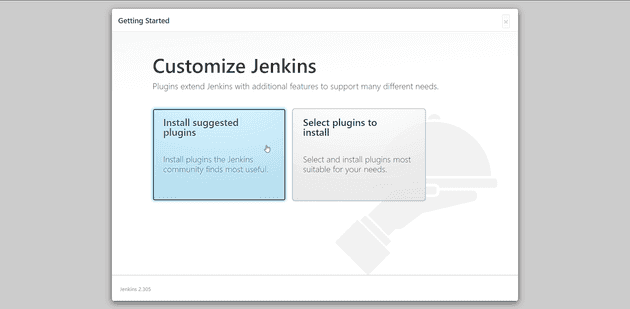
Just select the Install suggested plugins option and wait for the plugins to be installed.
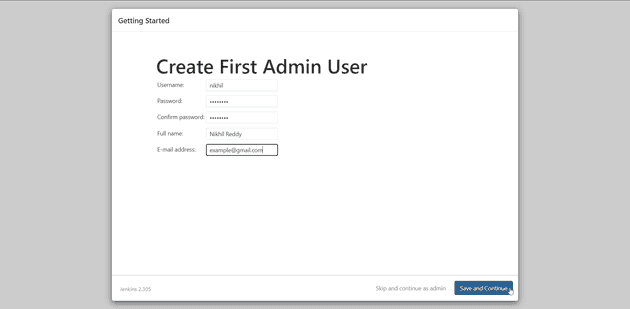
Enter your details and create your first admin user then click save and continue to proceed.
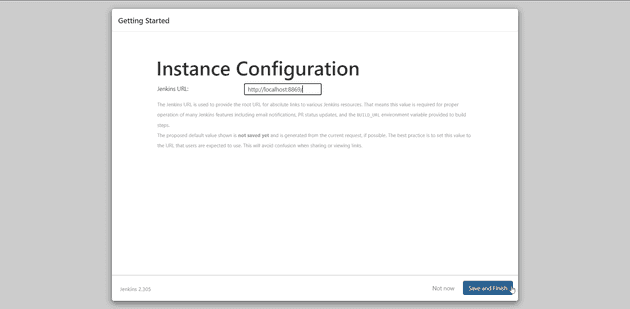
Keep this default and click on Save and Finish
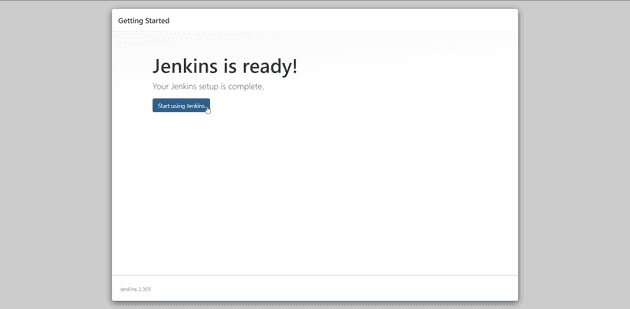
You will get the message that your Jenkins is ready.
Congrats you have successfully installed jenkins if you had and issue in any step just google the problem and you will most likely find the solution.
Create your first job
Now that jenkins is succesfully installed let’s create a job.
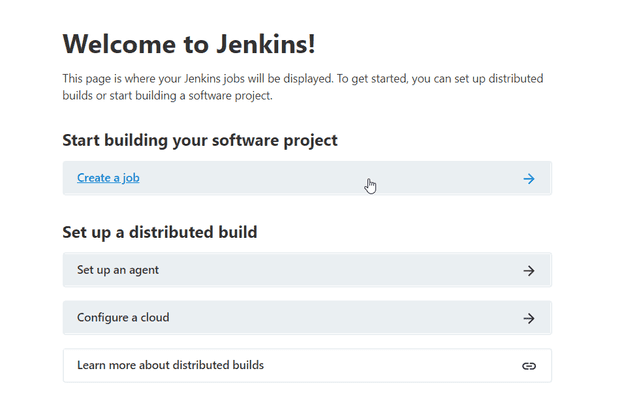
Go ahead and click the Create a job link.
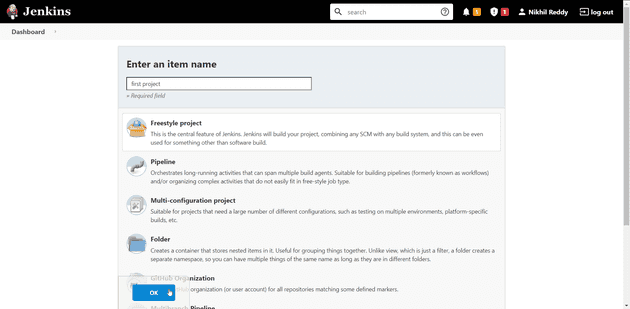
Let’s name it first project. Select the Freestyle project option and click ok
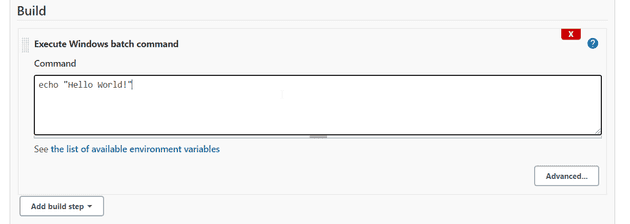
Now scroll down and click on add a build step in the dropdown select Execute windows batch command and type the below command.
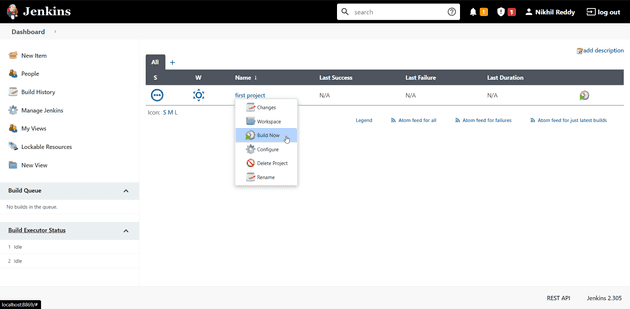
echo "Hello world!"Go to your dashboard and click on your project name dropdown and select Build now
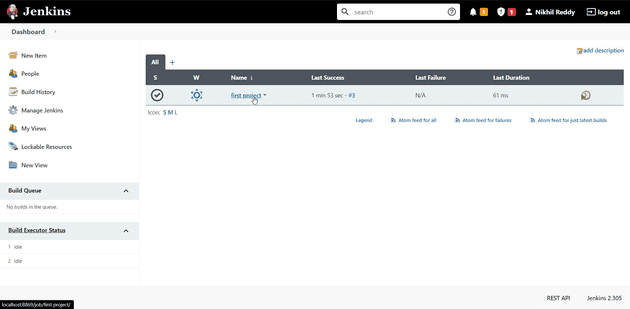
This will stat a build of your project.
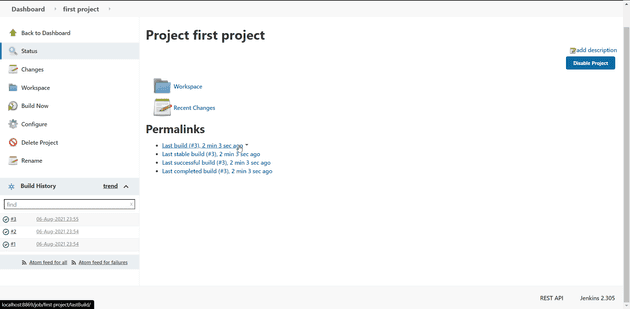
Now go to your project details and select Last Build option from the permalinks section
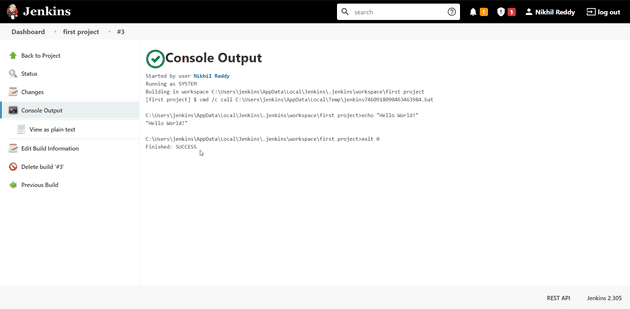
In the left pane select Console Output now the console output will be displayed on the right pane.
As you can see the build had output Hello world! to the console which means that our command had run succesfully and our build has completed successfuly.
And that is how we can properly install jenkins on windows 10 and run our first job.
You can access jenkins by opening your browser and going to localhost:jenkins port number.
